Arduino Tutorial: Arduino with bluetooth module HC-06.
In our post today we explain how to connect your Arduino with HC-06 Bluetooth module and put an example of how to control a led from an Android phone.
A little about the bluetooth technology.
The name Bluetooth comes from a Danish king who succeeded in unifying the tribes of Norway, Sweden and Denmark and convert them to Christianity. The idea of this name comes from the ability of the bluetooth networks to communicate with various digital devices, linking devices such as phones, computers, tablets ...
Who of us does not have a mobile phone capable of sending and receiving data via bluetooth ? For this possibility offered us understand our devices, which connect our projects with our phones and other devices opens the doors of many interesting projects.
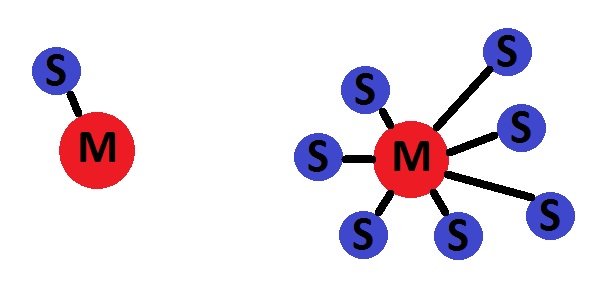
Now we'll start talking a little bluetooth technology. First we differentiate two ways of working bluetooth; master and slave (both as a slave). The difference between them is that the slave Bluetooth can only be connected to a master and any other device, while the master, you can connect up to 7 slaves and manage the information they have.
Every Bluetooth device has an address of 48 own bits, in addition also it has a device name that helps people to easily identify our bluetooth. For this, you can specify the name you will have your bluetooth when you set up your phone.
Materials needed for the tutorial:
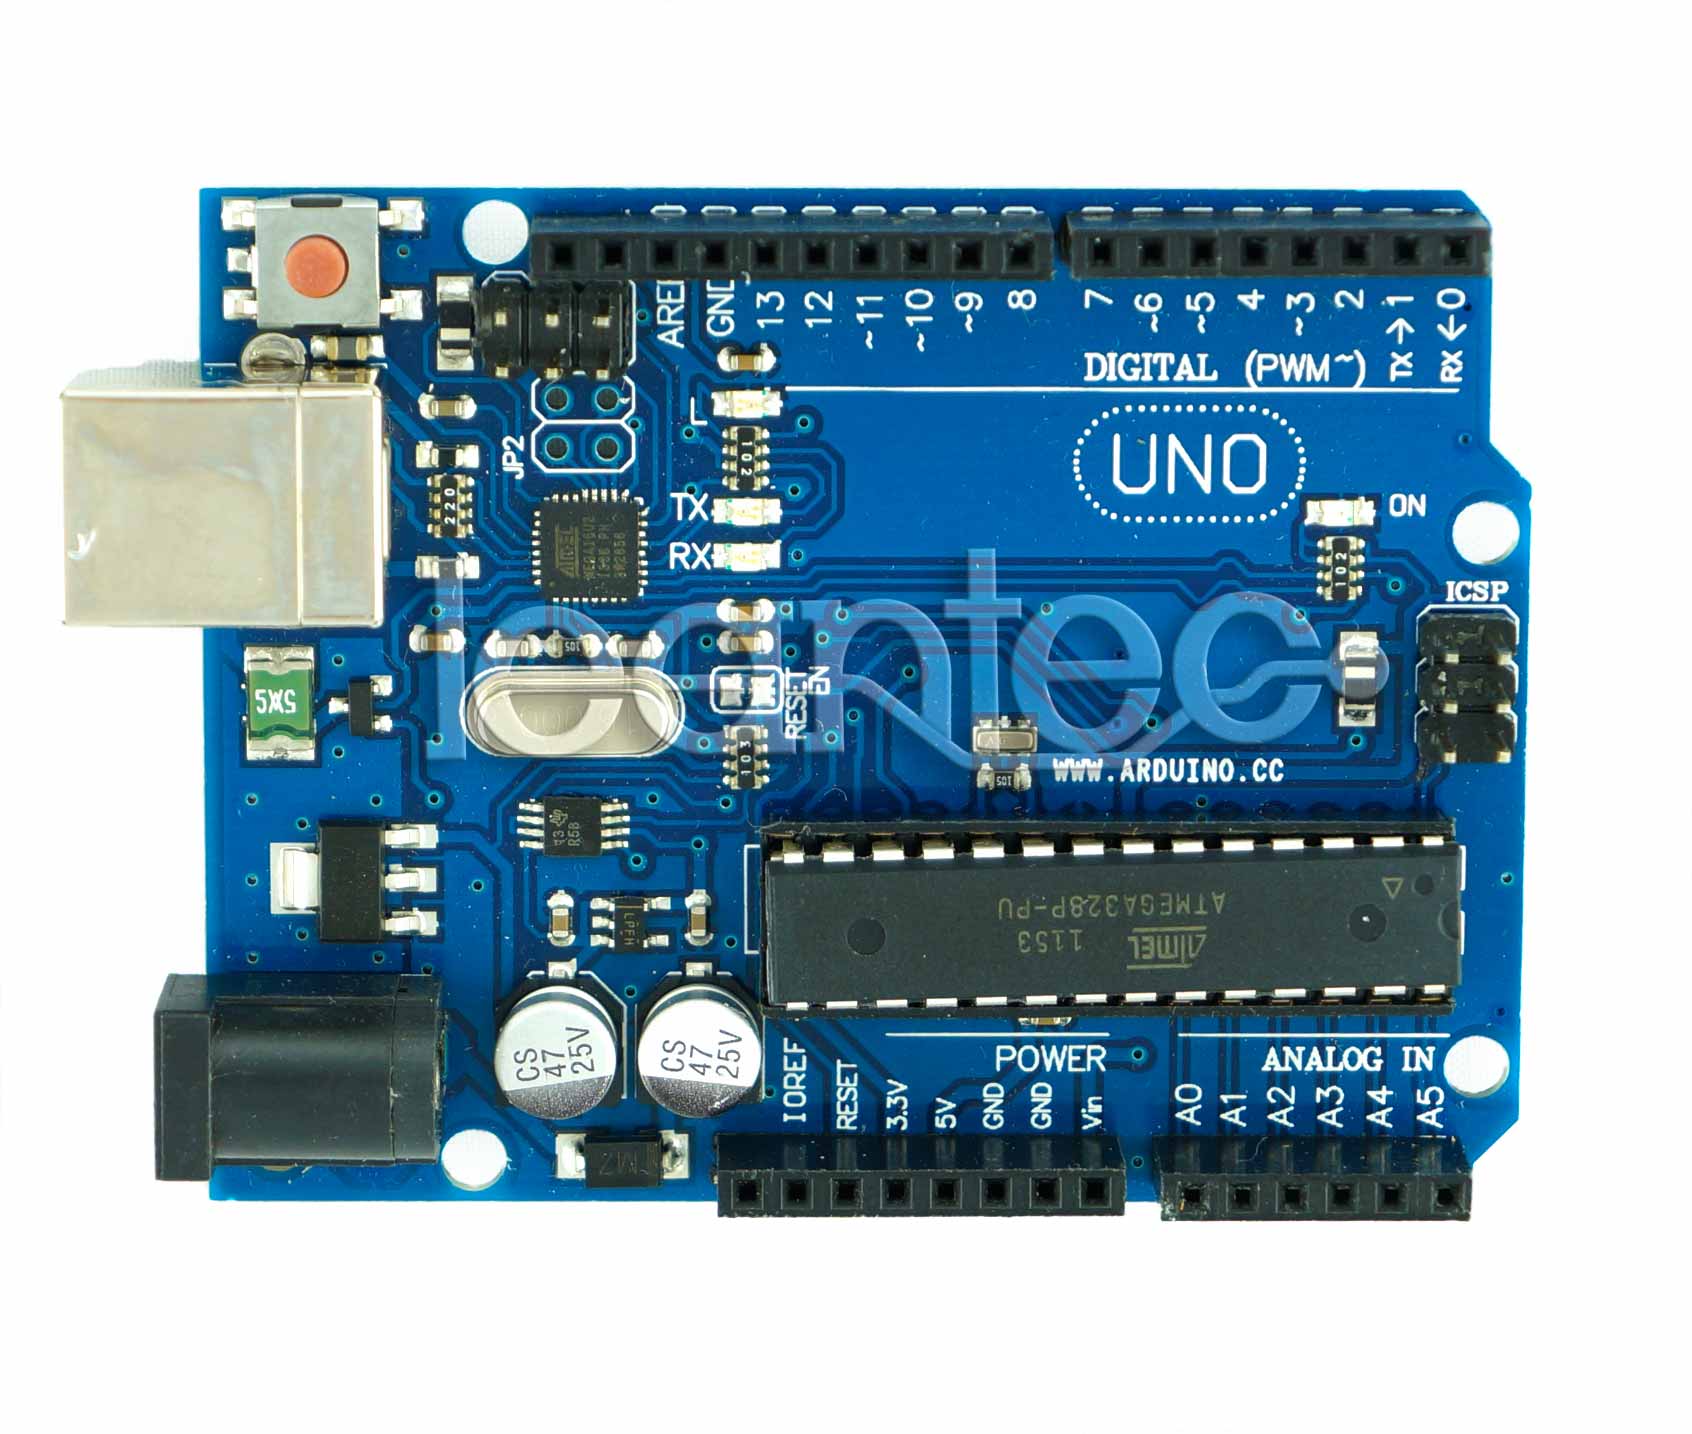
1. Arduino Uno.
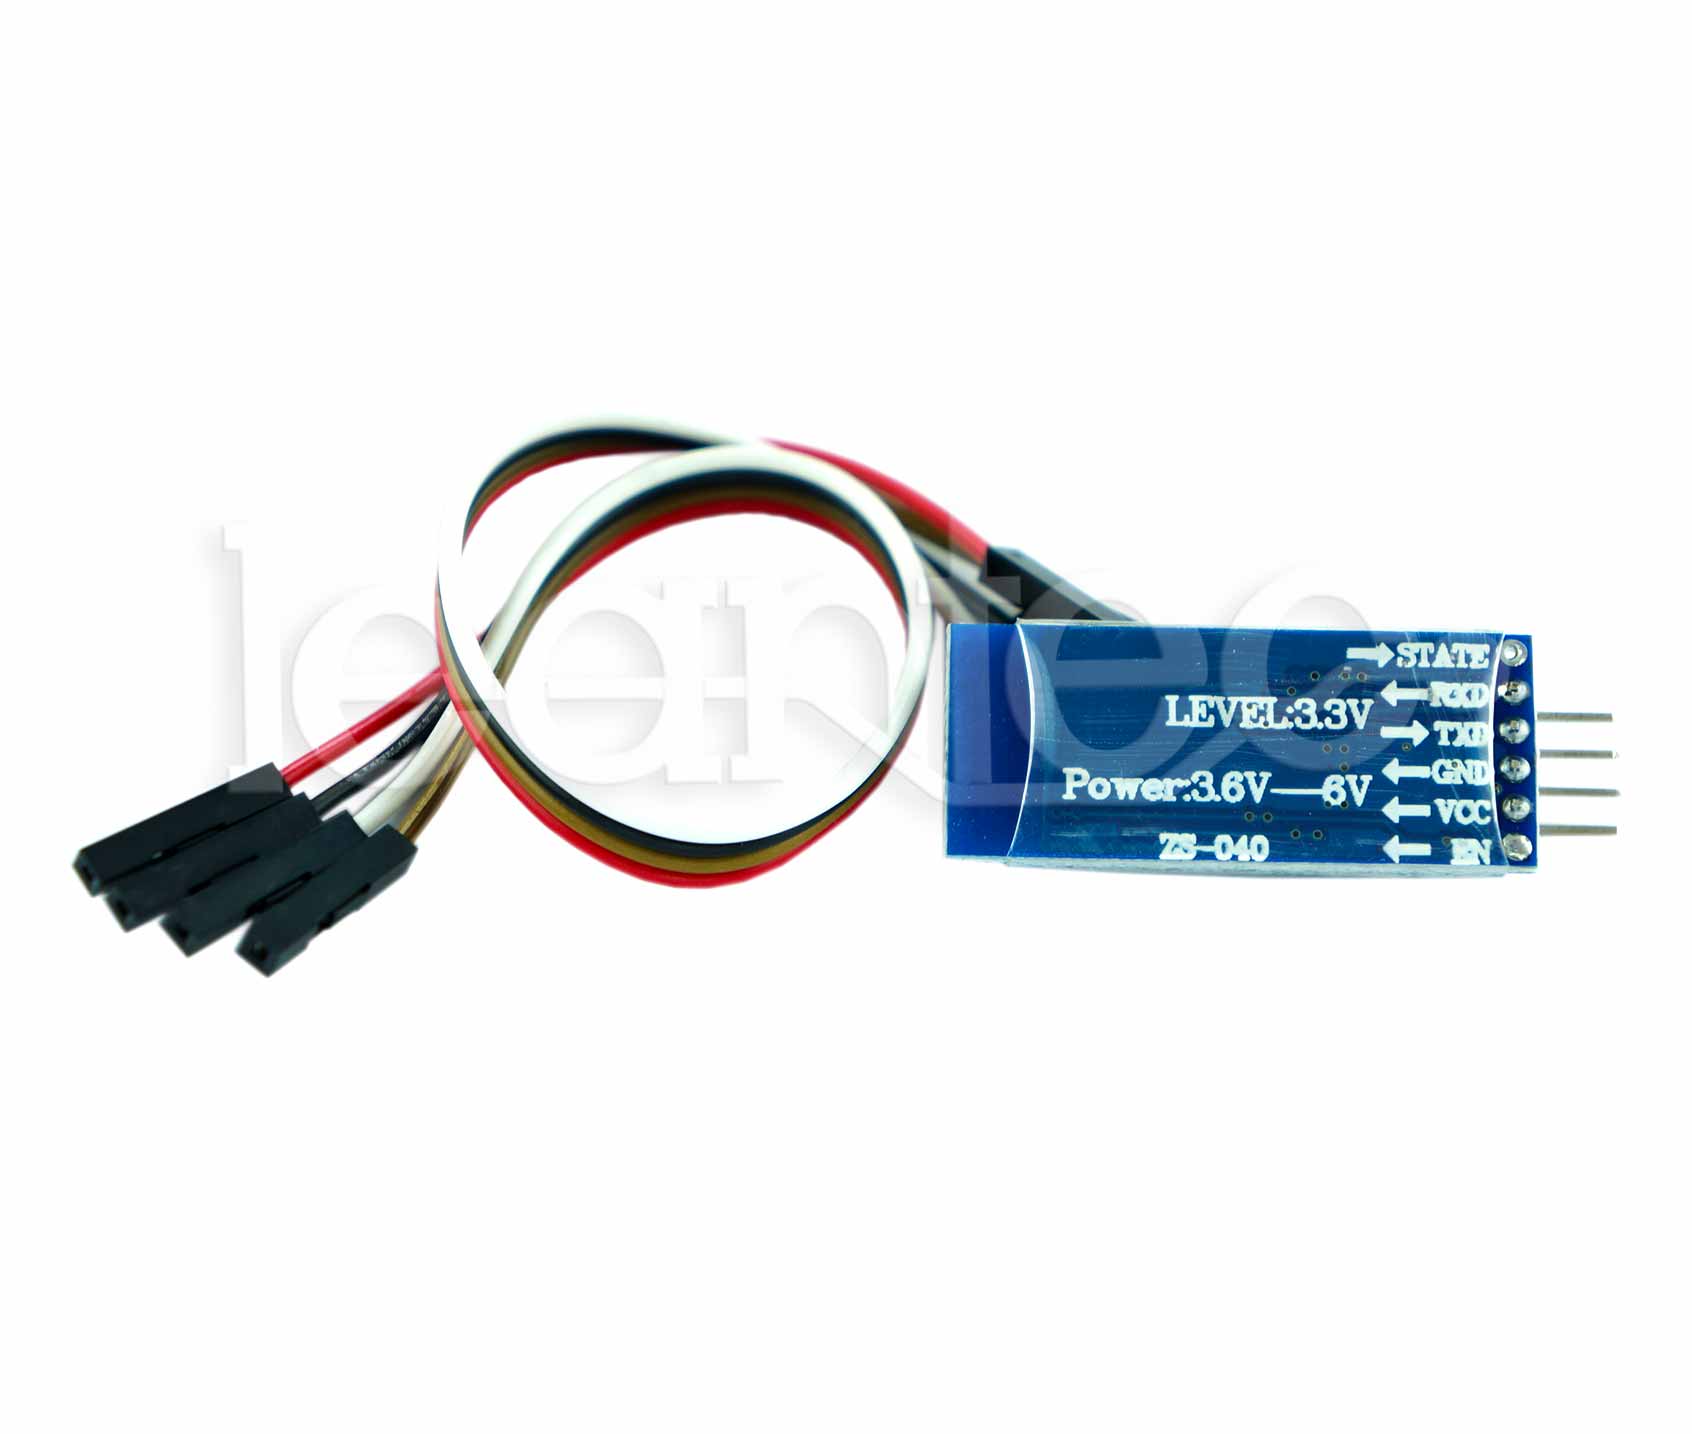
2. HC-06 bluetooth module.
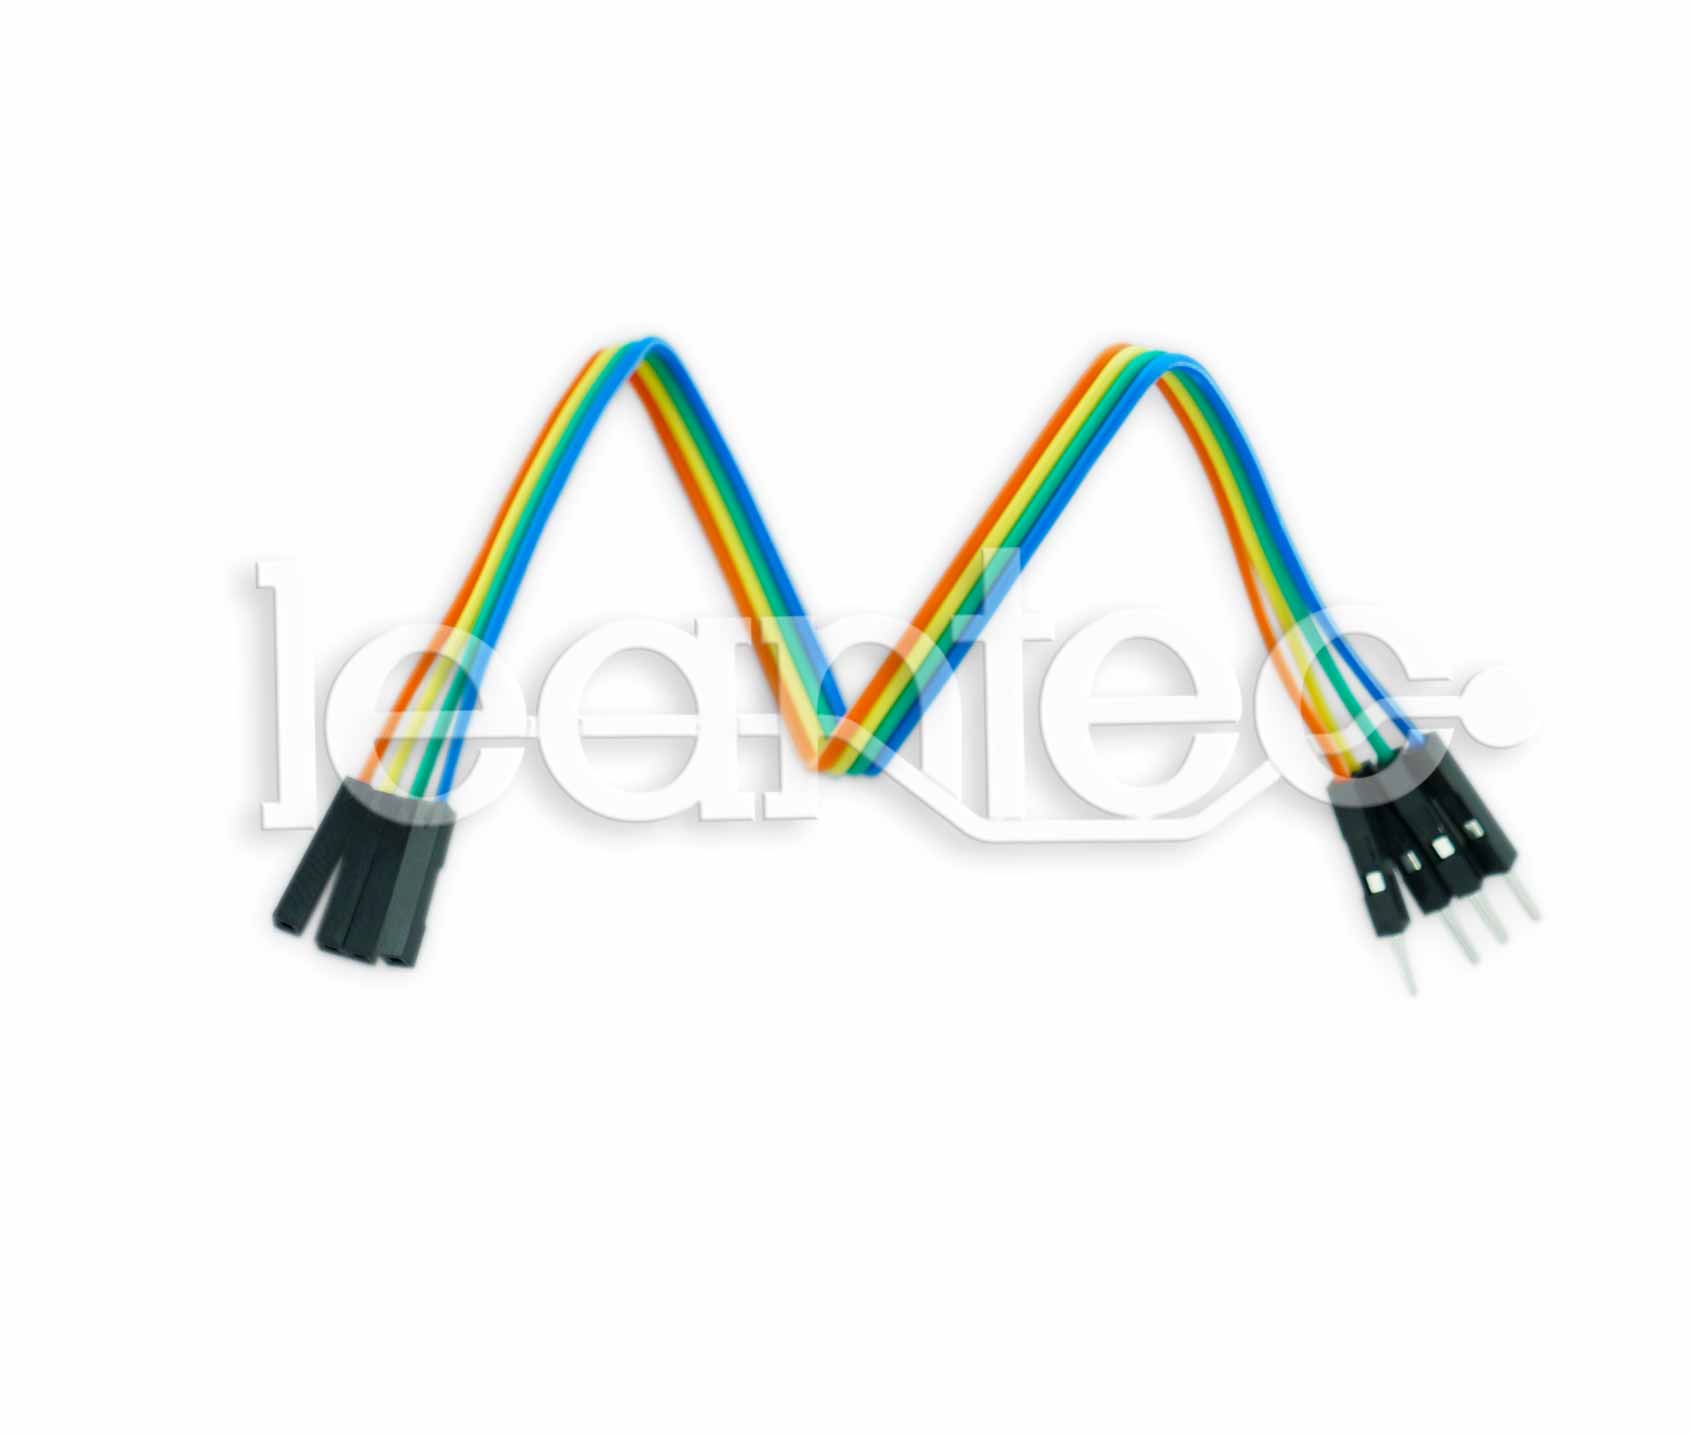
3. Cables
HC-06 connection module with Arduino
This is a very simple connection. On the HC-06 module labeled what each pin. Just connect GND and VCC module with Arduino, and the Tx pin module to Rx Arduino and vice versa.
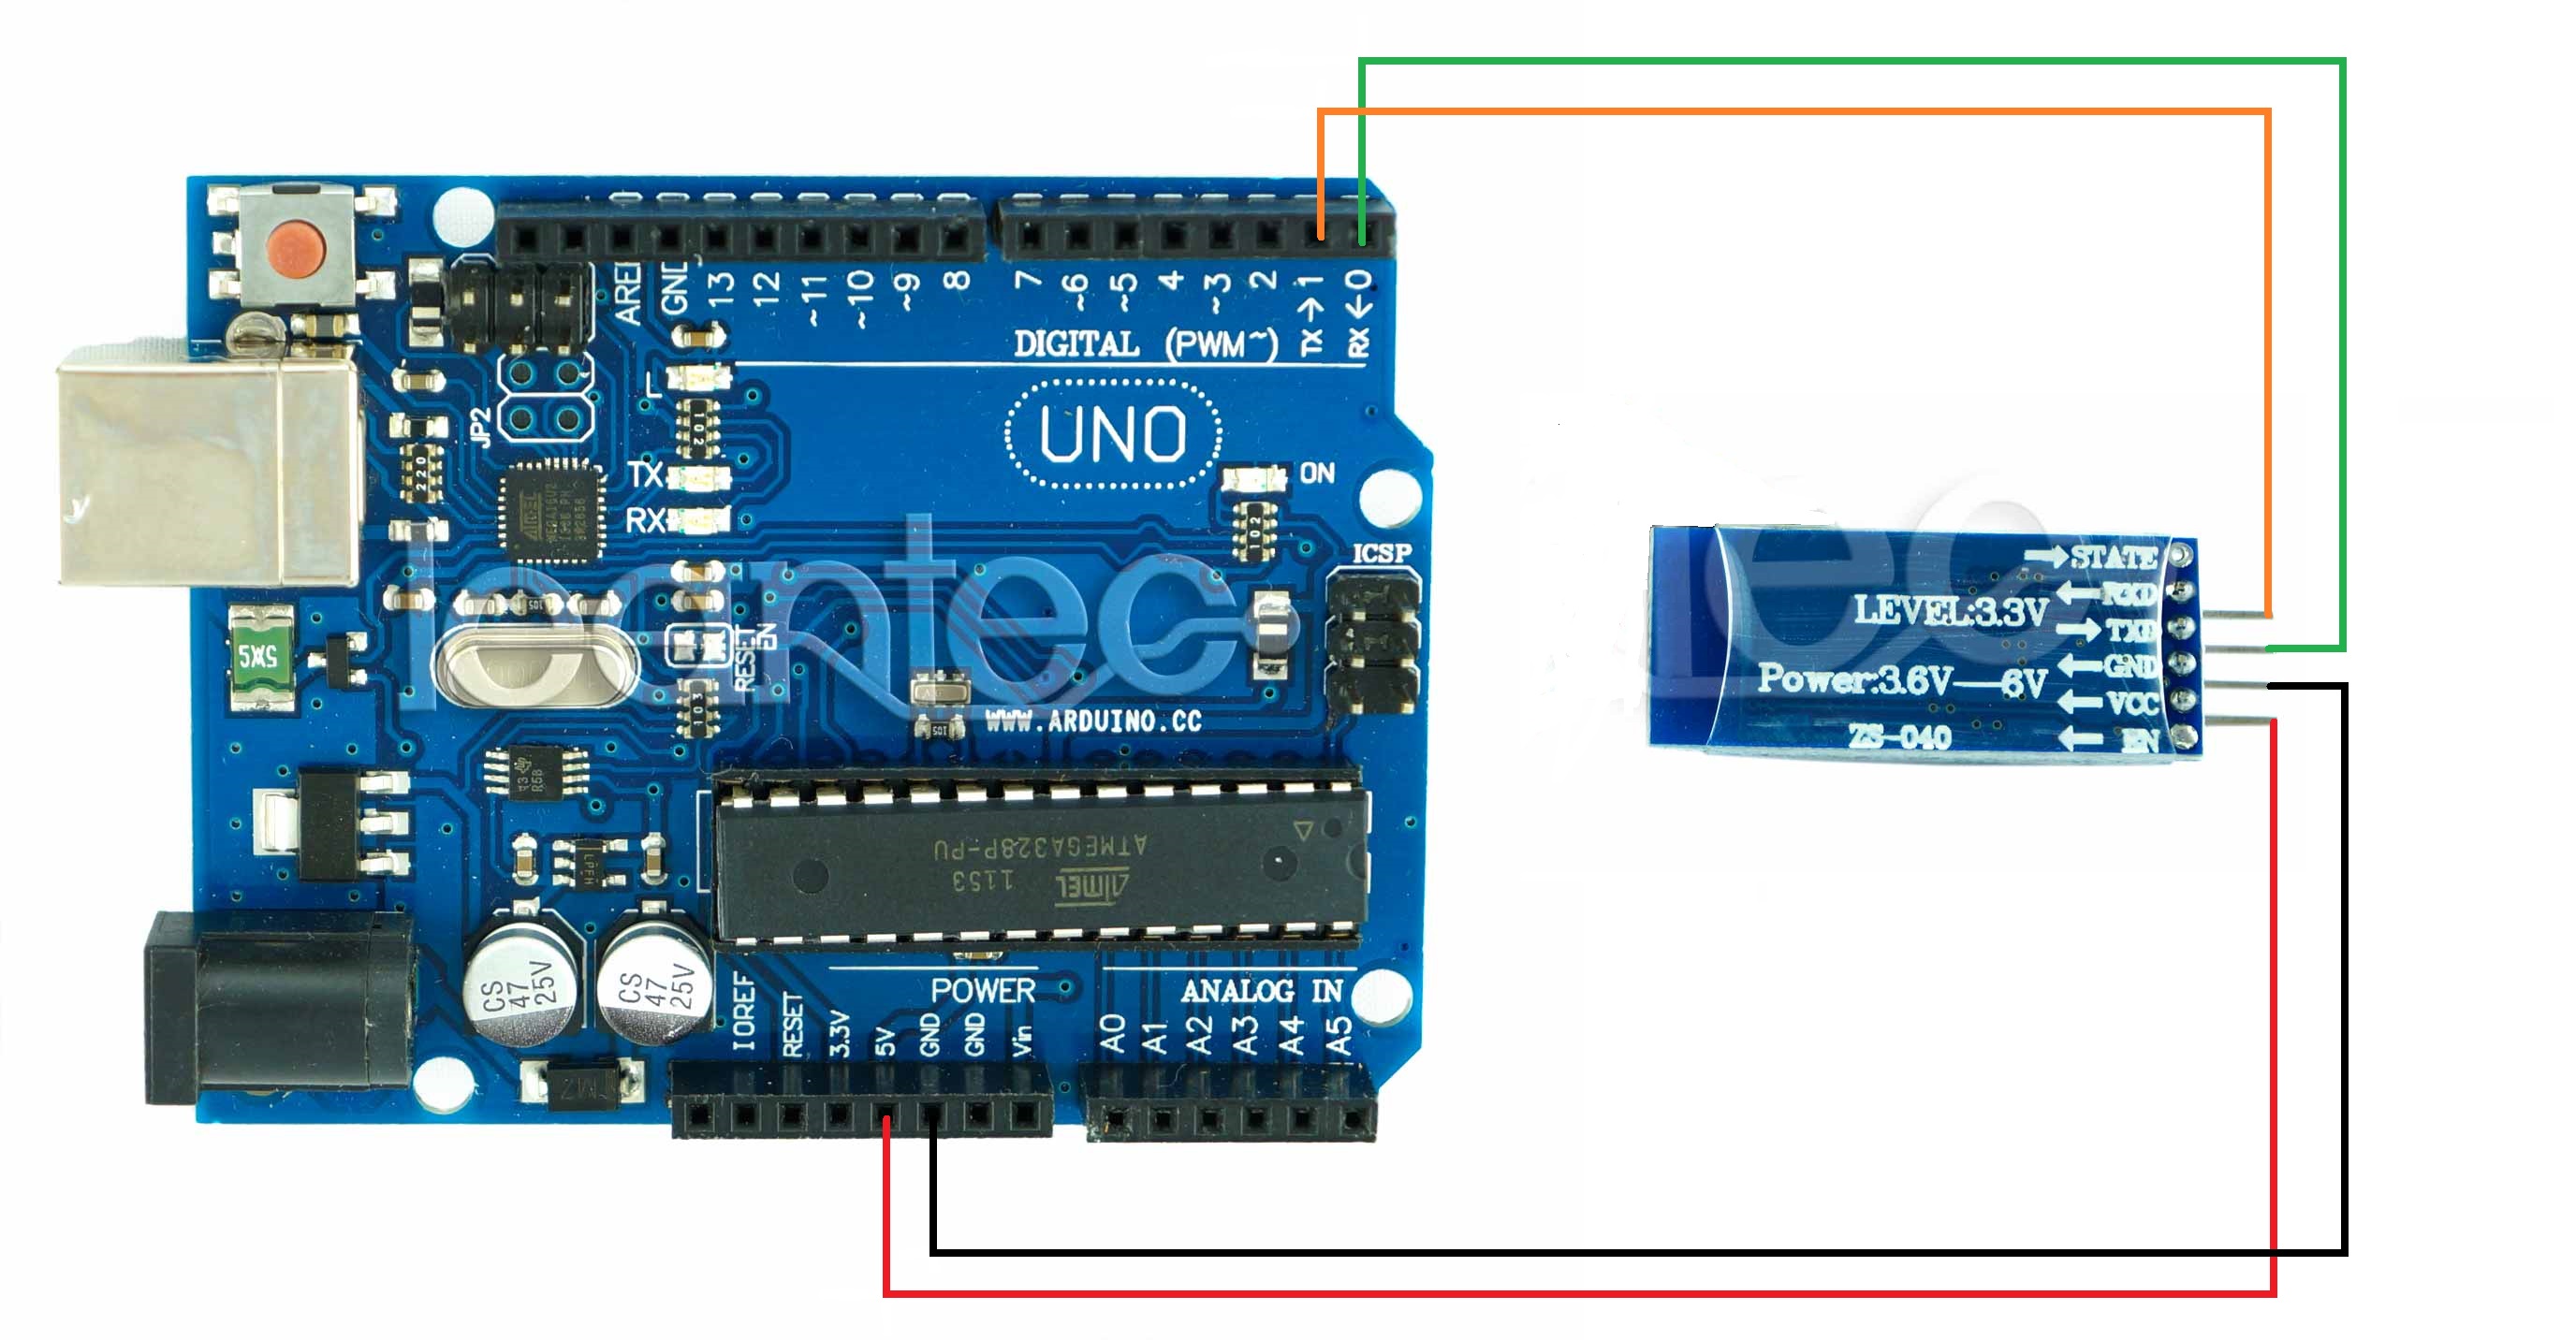
This connection has a drawback, is that the bluetooth module must be disconnected to set our Arduino, as the bluetooth uses the same pins to communicate, that Arduino to be programmed. In the next post, more avamzado on bluetooth connections will see how to overcome this drawback.
Once we see that the module connected LED flashes, this indicates that even this will not paired with any device. When emparejéis this LED will stay on.
Test code.
int led = 13;
void setup ()
{
pinMode (13, OUTPUT); // We configure the output pin 13
digitalWrite (led, HIGH);
Serial.begin (9600); // we begin the serial port
}
void loop ()
{
while (Serial.available ())
{
char data = Serial.read ();
if (data == 'a') {// If we send an 'a' turn off the led
Serial.write (data);
data = 0;
digitalWrite (led, LOW);
}
if (data == 'b') {// If we send a 'b' turn on the LED
Serial.write (data);
data = 0;
digitalWrite (led, HIGH);
}
}
}
Testing connection
Once you have dump the program on your Arduino, we will try to send information from a mobile phone to our Arduino.
I will use an Android phone (Iphone can not be linked) and an application
mobile call SSP Bluetooth:
1. -The first to test the connection step is to check that the lED module is flashing. This